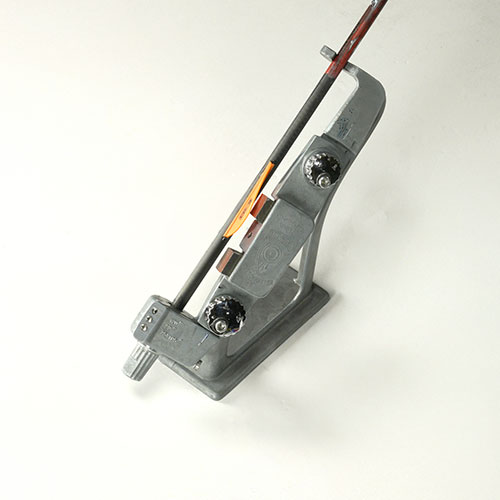
Diagram of a Pro Setter
Study the diagram of the Pro Setter and follow the instructions for perfect fletching placement regardless of angle or size of fletching. Pro Setters are precise but made of Plastic so avoid exposing to high temperatures. Any questions, email us at [email protected].
Installing Fletchings
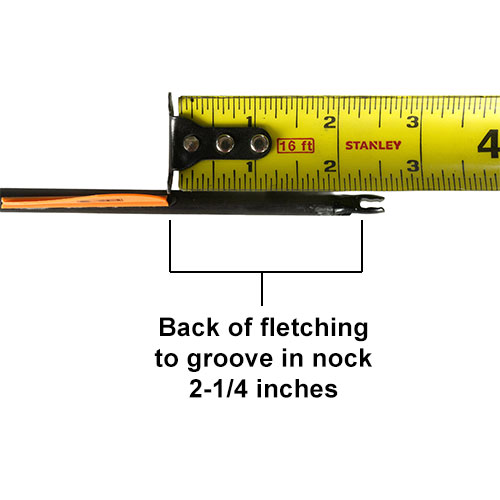
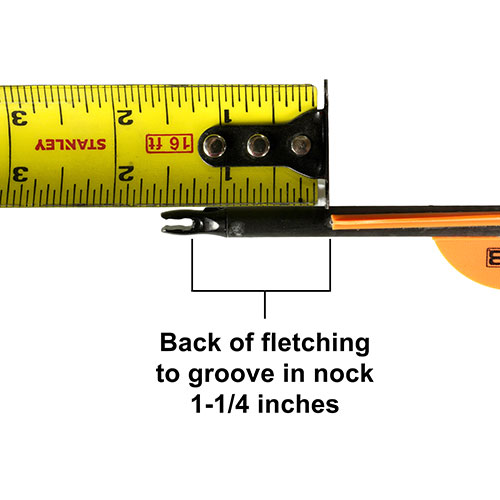
When installing using the default settings, the back of your fletching/vane will be industry standard 1.25 inches from the groove of the arrow’s nock.
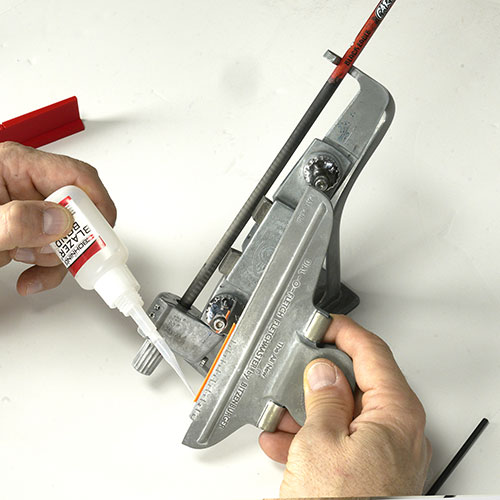
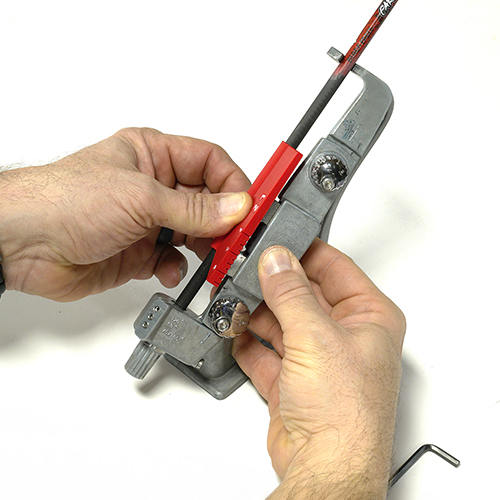
- Select the Pro Setter you intend to use. Load a bare shaft arrow into the fletching jig and loosen the adjustable magnet’s set screws.

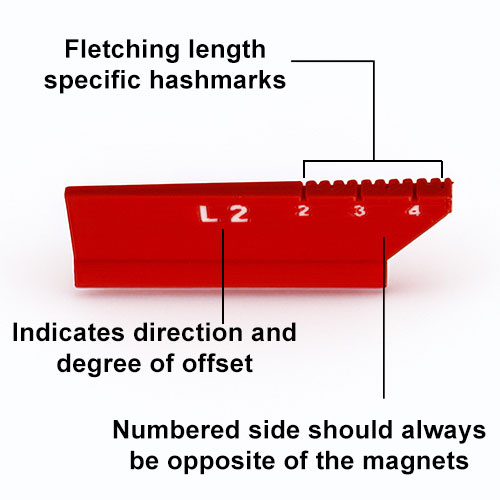
- With the setter’s lettered and numbered side facing away from the magnets, seat the setter onto the arrow. Maintain downward pressure with your left thumb while rotating the setter and the magnet faces toward each other until they are flush.
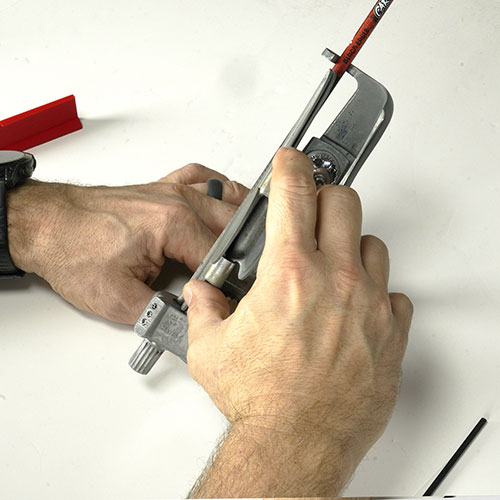
- While keeping the setter and magnets flush, slide the Pro Setter so that the hashmark corresponding to your fletching length aligns with the bottom edge of the lower magnet. Tighten the set screws.
Alternate lightly tightening each set screw to prevent magnet movement. Once the screws begin to seat, you may increase tightening force. Do not overtighten.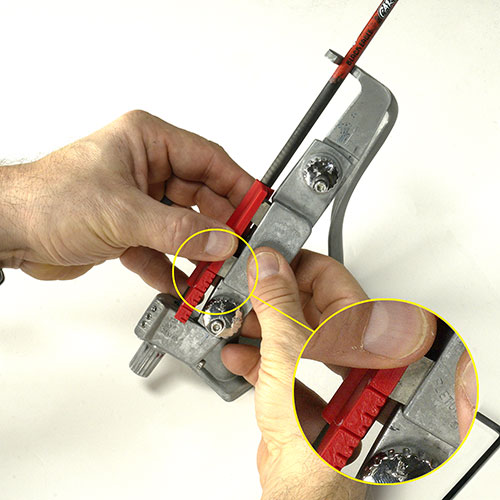
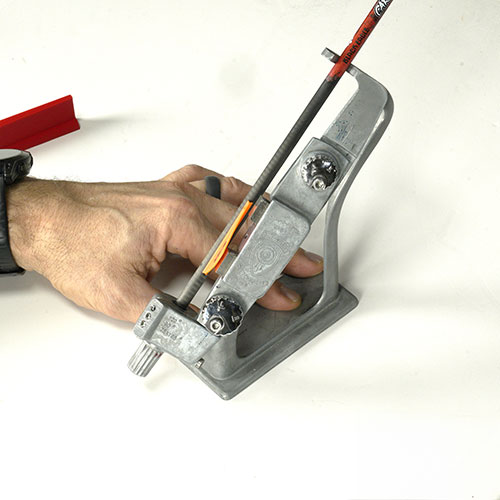
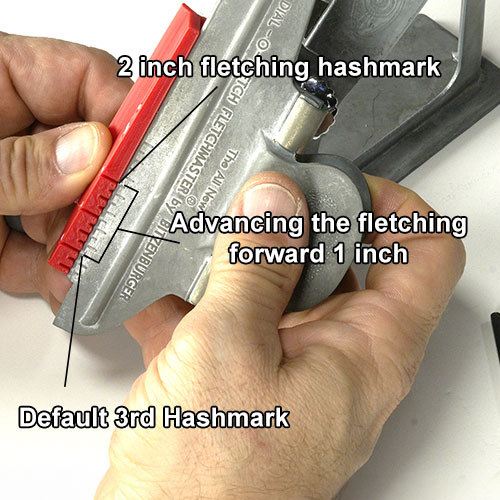
- Insert the fletching into the jig’s clamp with the back of the fletching positioned at the third hashmark from the nock end. You are now ready to apply glue and install your fletching. The resulting fletching will be approximately 1.25 inches from the groove of the nock.
Fletching Position Adjustment
When the back of the fletching is placed on the third hashmark, the resulting distance from the bowstring to fletching will be 1.25 inches. To install the fletching forward or rearward of the default 1.25-inch position:
- Repeat Steps 1 and 2 above.
- Instead of aligning the fletching-length hashmark, slide the Pro Setter forward or rearward to your desired position.
- Measure the distance from the back of the selected hashmark to the lower edge of the bottom magnet.
- Advance the fletching in the clamp by that same measured distance.
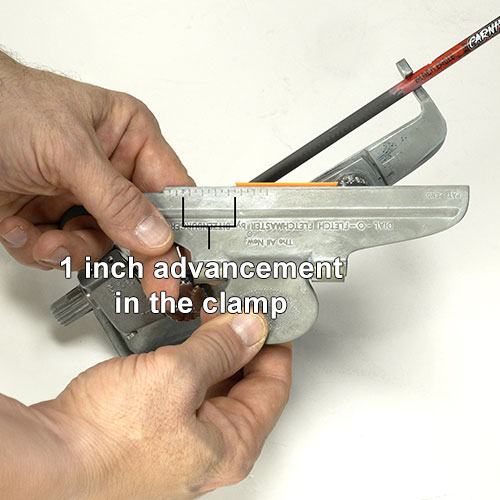
- Apply the glue to the fletching and install on arrow. The resulting fletching will be 2-1/2 inches from the arrow nock’s groove.